Today, we are gonna talk about how to set up voicemail on the iPhone. Voicemail is a very popular service in almost all phones today. Besides, its use is increasing day by day. Why send a message when you can easily convert your voice into messages. This enables the concealed exchange of messages. Moreover, almost every business today uses voicemail for performing various tasks. Also, it carries significant importance in the market today.
The voicemail enables users a platform where they can store their voice notes and send them to whoever they like. Now that we know what voicemail is all about, let us move on to its installation part. Setting up Voicemail on your devices requires some dedicated time. This will make your task easier in the future after you scale the application according to your requirements. In order to set up voicemail on iPhone devices, there are a few steps to be followed. Let us have a look at each of them.
Also, read about Best Emoji Apps.
Setup Voicemail on iPhone

1. Locating the Phone application on your iPhone
This step is the easiest one for users. Just navigate to the Phone application on your iPhones and tap the application.
2. Search for the Voicemail Tab and Log in there (for existing users)
After opening the phone application, look around for the voicemail tab. If you were already an existing user of Voicemail, tap the log in button and proceed. Besides, it will be located in the bottom-right corner of the application. If you have never ever used voicemail, follow step number 3 for further assistance. For existing users, there is an Apple ID column followed by a Password one. Fill in those details carefully. Thereafter, the device will sync your old voicemails. Simply press the Done button. And now you are ready to roll!
3. Click on the Setup now button if you are a new user

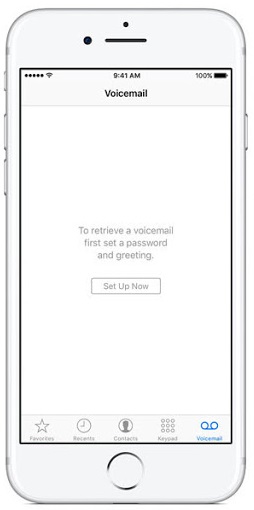
You will see such an image after you click on the voicemail tab. Afterward, click on the Set Up now button. Later, just create a new password exclusively for the voicemail. A tab will appear beneath asking you to confirm the password. You have to re-enter the password there. Besides, ensure that you create a strong password so that its misuse would be minimised. However, have backup options in case you forget your password. Keep the email id synchronised with your Apple ID ready.
4. Customize the Greetings Tab

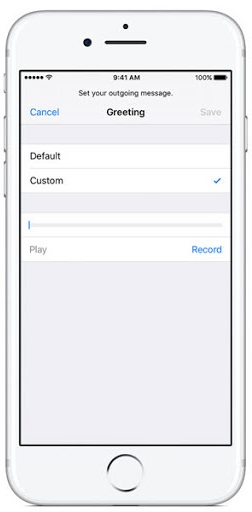
After your iPhone accepts the login credentials, you have to follow the steps mentioned hereafter. Moreover, there will appear a Greetings tab. Afterward, there will be 2 options as in the image above. Choose the default option if you are too confused about how to go about this. Following this step, click on the Done button and your setup is complete!
Recommended Read:
Bluestacks vs Nox
However, if you intend to use the custom button, then follow these steps. Tap on the custom button. It will ask you to create a new recording. Record a new greeting for this. Thereafter, tap on the Save button. If you forget to save your greeting, it will disappear from the memory of your iPhone. Also, you will have to go through the arduous task of recording it again. After saving your greetings, tap on the Done button.
5. The set up is complete!

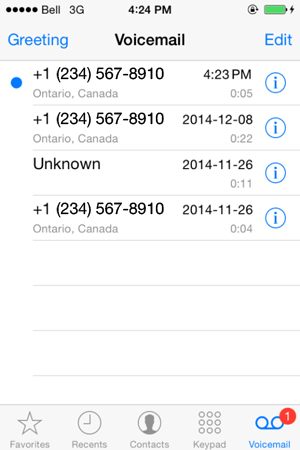
Hence, you successfully set up voicemail on the iPhone. Now, a similar tab will appear on your screen too. The iPhone will store your greetings. Now, you can choose to send them to anyone you want. There are a variety of options to send these greetings.
