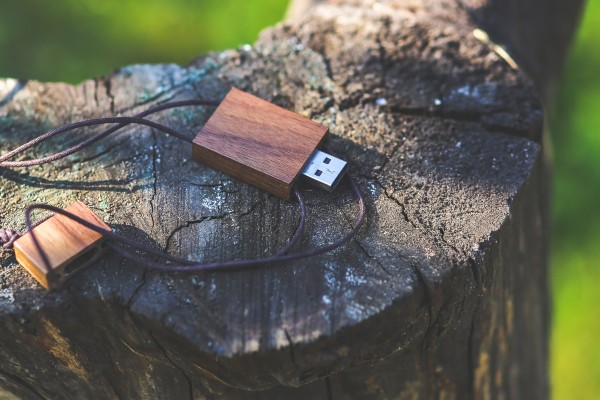
Flash drives or USB drives are probably the most useful place to store your data securely. While they have become less popular for normal data storage since cloud storage became popular, cloud storage has privacy and security issues. As reported by Monaco News, storing important data on your local system is also risky because you can’t take the data with you as easily. That’s why USB drives are still useful. You can store a relatively large amount of data in a USB drive, but it’s still a small device so you can carry it wherever you want.
When it comes to keeping your data safe though, it’s not enough to just carry the USB drive with you. If the drive gets stolen, your data is lost. So you’ll need to safeguard that data by encrypting it. Fortunately, all 3 platforms – Windows, MacOS and Linux have built-in tools to encrypt your data without using the command line a lot. If you’re wondering how to use them, this is how to encrypt a flash drive on Windows, MacOS and Linux.
How to encrypt a flash drive
1. Encrypt a flash drive on Windows

- Open This PC. Right-click on the flash drive that you want to encrypt.
- Click on Turn On Bitlocker.
- A window will come letting you choose between encrypting it with a password and a smart card. Choose Use a password to unlock the drive.
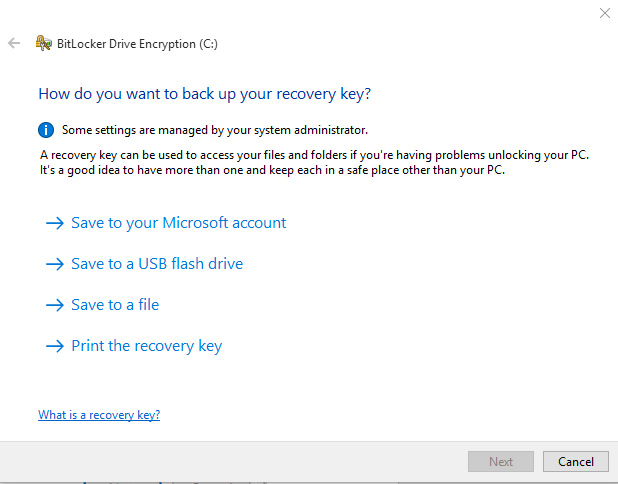
- You will now have to choose where to save the Bitlocker key. You can choose between your Microsoft account, a file saved locally, or actually print it. Saving it to your Microsoft account can be more convenient, but you obviously have to trust Microsoft.
- Next, you can choose whether you want to encrypt your whole drive or if you want to only encrypt the used disk space. If you know you aren’t going to add any more data to the drive, use the latter option.
- You can now choose which encryption mode you want to use. “New encryption mode” is a new mode with better data security, but it’s not compatible with older versions of Windows. Compatibility mode is the one you should choose for a USB drive. Click Next.
- Now your drive will be encrypted. The next time you plug in the drive, you will be asked to enter your password to access the drive.
2. On MacOS
To encrypt a drive, you will have to format it. There are other methods to encrypt your drive with data still in it, but formatting the drive is recommended.

- Copy any files you have on the drive to another place. Open the Disk Utility and click on Show All Devices.
- Select the drive you want to encrypt and click on Erase in the toolbar.
- Enter a name you want to give to the new volume. Choose the scheme popup menu and click on GUID partition map.
- Click on Format, then choose an encrypted file format. You can choose between MacOS Extended (journaled, Encrypted) and APFS(Encrypted).
- Type in a password to encrypt the flash drive with. Click Erase and click Done.
3. On Linux
To encrypt a drive on Linux, you’ll have to have 2 packages – gnome-disks and cryptsetup. If you don’t have them, you can install them by running:
sudo apt-get install gnome-disks cryptsetup

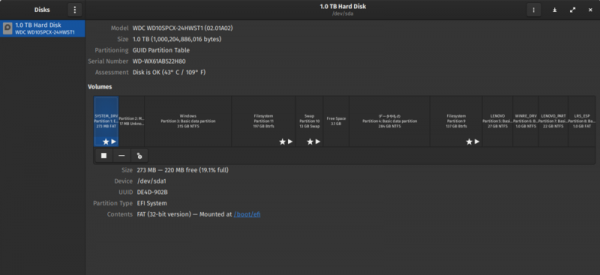
- Open the Gnome Disks utility. Select the drive you want to encrypt in the sidebar.
- Click on the Gear icon at the bottom of the partition map. Click on Format partition in the menu.
- In the Type section, select the Encrypted option and enter a passphrase.
- Click the Format button. Review all the settings, then click Format again. The drive will be encrypted.

